General Info
RISCV is a new ISA (instruction set architecture) that is supposed to be consised and simple. Supposedly it is more efficient than some other commonly used ISA (like x86, ARM64, etc) but I found it interesting at the very least and a great way to introduce myself to Assembly.
Getting Started:
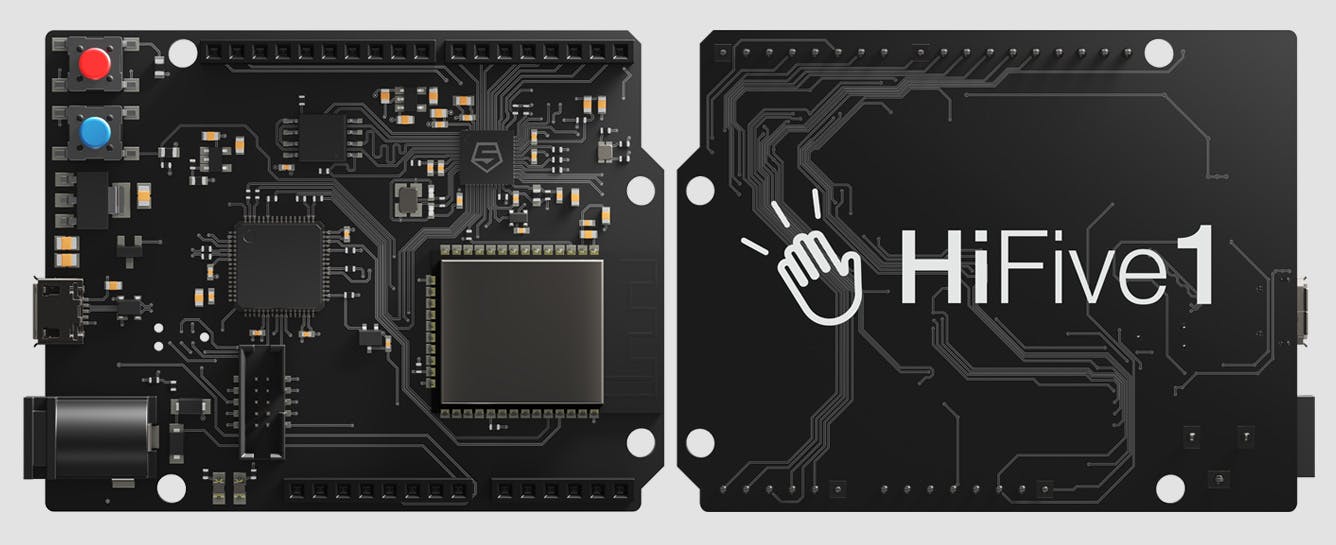
In my case I purchased one of the development boards that are being sold by the RISC-V sister company SiFive. Specifically, the Sifive Hifive1 RevB was purchased for around $50. Not a bad little board and basically comes in the same form factor as an Arduino Uno.

They also provide a decent SDK called freedom-e-sdk which allows a user to code using C and with some basic assistance.
I however did not like the library and was wanting to program in bare metal assembly so I ignored their library for the most part and began my adventures into programming RISCV assembly.
However, I did use their toolchain for risc-v which I recommend you should download and compile and put it in an easily accessible location. Additionally, you should add the bin folder to your PATH environment variable.
Assembly Basics:
If anyone isn’t familiar with Assembly, I would suggest you look into some other articles on MIPS assembly as this article isn’t necessarily meant for anyone who is trying to learn assembly. Rather it is meant for people who are trying to get assembly code to work on a bare metal RISC-V board.
In any case, the RISCV Architecture has some interesting features in assembly. First of all, the x0 register is super useful as it is hard code to 0 so it useful for clearing out registers or for other operations. Secondly, a lot the opcodes have immediate versions which is useful as I have dealt with other languages where loading constants has been a little bit more cludgy.
Beyond though few features, RISC-V assembly is fairly straight forward and doesn’t have too many odd quarks.
Basic Assembly Test
Lets say you are trying to turn on the RGB Led on the RISCV board and set it to GREEN. You would first have to look at the FE310 (the name of the chip on the hifive1-revb board) and look for the various registers and memory maps that are needed to do so.
These articles I used to determine the various registers and memory address that I would need to do so. fe310-datasheet fe310-manual. Both of these articles are useful in theory own ways but I found the manual far more helpful for my case.
Once you have pinpointed the addresses that are needed you should be able to come up with something like this.
.global

_start:
li t0, 0x10012000 #Load gpio ctrl address
li t1, 0x00080000 #Load green_led address
sw t1, 0x80(t0)   #Set green_led to output
sw t1, 0x40(t0)   #Set GPIO output to have 1 = on, 0 to be off (or 1 =high, 0 = low)
sw t1, 0x0C(t0)   #Turn on led
You can use RISC-V simulators like Spike or a QEMU risc-v emulator to test the above code but I did not bother.
One very important thing of note is you must create a memory map file so that the Assembler can make sure the variables go to the correct locations. I only discovered this after desperately searching for the reason why my hex file was not valid.
MEMORY
{
    rom : ORIGIN = 0x20010000, LENGTH = 0x1000
    ram : ORIGIN = 0x80000000, LENGTH = 0x4000
}
SECTIONS
{
    .text : { *(.text*) } > rom
    .rodata : { *(.rodata*) } > rom
    .bss : { *(.bss*) } > ram
}
If you read the above fe310 manual it becomes quite clear why the above file is needed.
Next you have to create a Makefile that can compile the above assembly code and convert it to .hex file ( this needed to upload the code to the hifive). In my case after some searching I was able to piece meal a basic Makefile that could do everything that I needed.
# Makefile for Assembly Testing hifive1-revb
# See Link for example makefile: https://github.com/dwelch67/sifive_samples/blob/master/hifive1b/blinker01/Makefile

RISCVGNU = riscv32-unknown-elf

AOPS = -march=rv32imac -mabi=ilp32 # Assembly compilation arugments

all : led.o

clean :
	rm -f *.o
	rm -f *.elf
	rm -f *.bin
	rm -f *.list
	rm -f *.hex

led.o : led.S
	$(RISCVGNU)-as $(AOPS) led.S -o led.o
	$(RISCVGNU)-ld led.o -T memmap -o led.elf
	$(RISCVGNU)-objcopy led.elf -O ihex led.hex
Of course adjust the source filenames as needed, but it should output the desired hex file.
The simplest part of all in the process is actually uploading the file. Just simply copy the file to the HiFive directory that has mostly likely been created as soon as your hifive1 was plugged into your computer, and it will go through the process of writing the hex file to memory.