Synopsis
So lets say you just setup a nice new homeserver with a plex media server. You now wish to access this media but sadly you have Carrier-grade NAT and you don’t wish to have your bandwidth capped by plex’s proxy servers. Or maybe, you wish to just remotely managed your server but cannot setup a local vpn server because of your Carrier’s Nat. Realistically, the only solution you have is to host a vpn server somewhere remotely and have you network connect to that vpn in order to access your media. There are plenty of services to use do to this (realistically you just need a remote server with port forwarding capabilites) but I ended up going with OpenVPN Cloud as it is free with no bandwidth caps at the cost of only having 3 active connections allowed. However, you could setup multiple accounts if you wish to bypass the 3 connections limit. NOTE: I am not sponsored by Openvpn (though this should be pretty obvious given that the above statement is present)
OpenVPN Cloud Setup
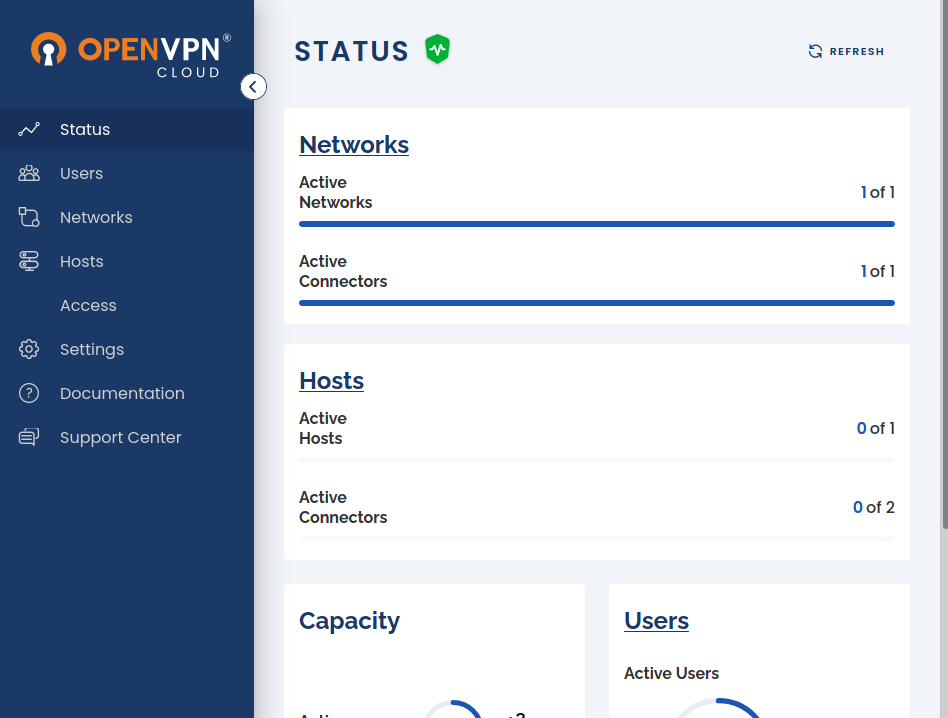
Once you have made an account and have arrived at the VPN Admin Portal.
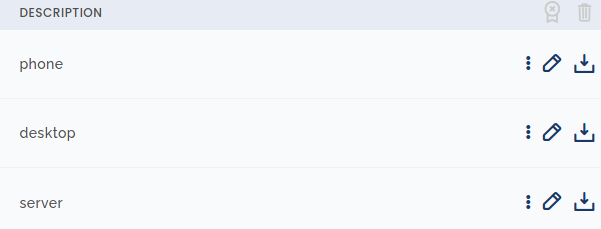
 Make a couple of devices under user section.
 Once you have done that go to the networks page and configure your vpn network.
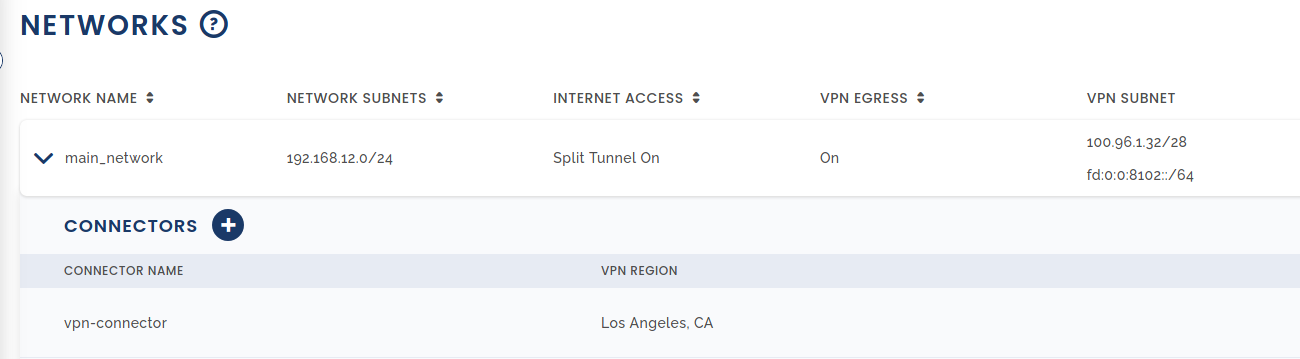 Here you will have to make a new network. Give it a name, a network subnet (which can be realistically anything in the scenario), enable split tunnel and enable VPN Egress if you want to be able to access the outside internet besides your tunnelled network.
Then you will need to add a connector.
Give it a connector name and select a the nearest region.
You will also want to download the .ovpn file associated with this connector by clicking the download button (to the right of the pencil icon).
Before proceeding to setting up your connector, I would recommend downloading a .ovpn profile for one of your previously created devices and test that you can tunnel correctly (go back to users and click the same download button as the connectors download but for the device you want).
Here you will have to make a new network. Give it a name, a network subnet (which can be realistically anything in the scenario), enable split tunnel and enable VPN Egress if you want to be able to access the outside internet besides your tunnelled network.
Then you will need to add a connector.
Give it a connector name and select a the nearest region.
You will also want to download the .ovpn file associated with this connector by clicking the download button (to the right of the pencil icon).
Before proceeding to setting up your connector, I would recommend downloading a .ovpn profile for one of your previously created devices and test that you can tunnel correctly (go back to users and click the same download button as the connectors download but for the device you want).
Quick and Dirty method for testing a ovpn file
If you are on Linux, install openvpn using your main package manager (pacman, apt, snapt, yum, etc.). If you are using openvpn2 use the following command:
# openvpn --config <insert config file>
If you are using openvepn3 use the following command:
# openvpn3 session-start --config <insert config file>
Note - You may not need to execute the above commands with root privileges if you setup your permissions correctly. if you are able to establish a tunnel then you should be able to continue with setting up your connector.
Setting Connector - Linux
It is possible to setup a connector on Windows or on a Mac, but it would be way better to use a linux machine as it should be quicker to get running and would allow for easier deployment in a headless environment. In my case, I will be having my connector in a LXC Debian 10 container but regardless of how you setup your connector make sure that its local ip address in on the same subnet as the rest of the network that you want to access.
Note One additional item that is needed for an lxc container is for a bind of the “/dev/net/ file between the host machine and the container. The below config addition should work fine for at least an lxc container hosted on proxmox machine (but I would imagine it would work with a variety of other setups).
lxc.mount.entry: /dev/net dev/net none bind,create=dir
This openvpn article gives a good amount of the information that I will be referencing in the rest of the article. But there are effectively 3 things you have to setup on your linuxconnector machine:
- Setup vpn connection using various methods (.ovpn file, connector application, etc.)
- Enable ipv4 routing
- Setup a NAT for the machine.
VPN Connection
As described in the Quick and Dity method for testing a ovpn file, you can simply use the openvpn command to connect your cloud vpn but in order to have it autostart and run in the background there are a couple of options on how to do so. Firstly, you can create a .service file that will create service for the openvpn connection. The second option involves moving your ovpn file into a specified directory and when openvpn service starts it will autoconnect to your vpn server. In my case, I was having problems where the openvpn autoconnection would try to connect to the vpn server twos times which would remove an excess amount of vpn connections from already limited connection amount. So I ended up making a simple .service file which is run using systemd
[Unit]
Description=OpenVpn Connection
After=network.target

[Service]
ExecStart=/usr/sbin/openvpn --config /home/theatre/.vpn/server-cloud.ovpn
WorkingDirectory=/etc/openvpn
User=root
Restart=on-failure
RestartSec=5s

[Install]
WantedBy=multi-user.target
Adjust the ExecStart as needed so that it reflects your config location and your openvpn executable location. Then enable and start the above service
# systemctl enable (service name)
# systemctl start (service name)
ipv4 routing
This part is fairly simple. Just paste this command to enable routing on linux
# sed -i 's/#net.ipv4.ip_forward=1/net.ipv4.ip_forward=1/g' /etc/sysctl.conf
And if you are running your linux machine has its own independent kernel (i.e not a docker or lxc container) the following code is necessary as well.
# sysctl -p
Restart once you are done. The above commands just enable ipv4 forward which you can read into a bit more here.
NAT Setup
The below commands are for producing a really simple NAT using iptables (you can use ufw instead but I have less experience using it).
# apt install iptables-persistent
# iptables -t nat -A POSTROUTING -o eth0 -j MASQUERADE
# iptables-save > /etc/iptables/rules.v4
Replace eth0 if your main network device has a different name. Note you can also make it so each vpn client looks different on the network if issue the following command instead of first iptables command.
iptables -t nat -A POSTROUTING -o eth0 ! -d 10.10.0.0/16 -j MASQUERADE
Note that you can change the ip address if needed. Once you have updated you iptables, restart your computer one more time and it should be done. An easy way to verify that it is working is simply ping your routers gateway while tunnelling through your vpn server (I mostly use my phone when testing this so that I fully verify that all of my packets are going through a remote network).
Additional Notes
There may be more secure ways of doing this but this was a quick and dirty guide of setting up a VPS server using OpenVPN’s Cloud service. Also note that there is alternative to this using some software provided by Openvpn. That method is easier to setup but does not necessarily work on every platform and you cannot customize it as much. See the below link for more details.
Potential Fixes for problems
Some people have pointed out that certain vpn files throw errors when setting up their vpn connection. The below config entries (place in your .ovpn file) should solve any issues with ipv6 related issues. (Suggestion made by Jellayy).
pull-filter ignore "ifconfig-ipv6 "
pull-filter ignore "route-ipv6 "