Synopsis
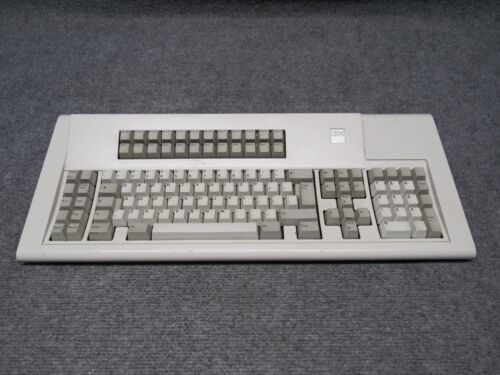
This article will summarize the various challenges and interesting things of note with regards to my m122 that was recently restored.
Background
So I have always wanted a proper IBM Model M keyboard, as I have enjoyed using cherry mx greens as my daily driver and recently got used a cheap Fujitsu keyboard that had buckling springs. However, I also wanted extra keys for various macros and keybindings and such so when I found this M122 on ebay for a relatively decent price (less than $60 USD) I decided to take the plunge and buy it.

Notes about Model Ms and such.
So there are various things to note about Model Ms, typically the older the better as their manufacturing process got worse and worse (or at least cheaper on their end). Next thing to note is that a lot of the model ms operate using different protocols, but usually some varient of the PS/2 protocol. In the case of the M122 series, they use their “Terminal Protocol” which is basically scan code 3 variant of the PS/2 protocol. Because of this usage of scan code 3, a lot of active PS/2 to USB converters will not support this Model M variant. However, other Model Ms may be able to use generic PS/2 to USB converts (your milage vary obviously). This article summarizes the various model m applicable scan codes.
Cleaning Process
I would highly recommend that you clean your used keyboard before operating it to a certain extent. In my case I tested it first and verified that the keyboard worked fully, and then cleaned but honestly old keyboards can be very filthy so… Ultimately, Cotton Swabs, and some old sponges will suffice for cleaning the chassis and the keycaps.
Conversion Process
Basically, I tried several different methods of converting the keyboard to USB. I first experimented with using some of the newer Seeduino Xiao. This controller worked fine for the most part but a lot of the existing libraries for model ms are note quite compatible with it. So I was able to confirm that the keyboard worked, get some basic hid output (keys output but polling poorly and modifiers not entirely working). I imagine in a couple years the libraries will eventually get ported over but for now I would not recommend trying to use Newer 32bit boards unless you feel like creating your own firmware.
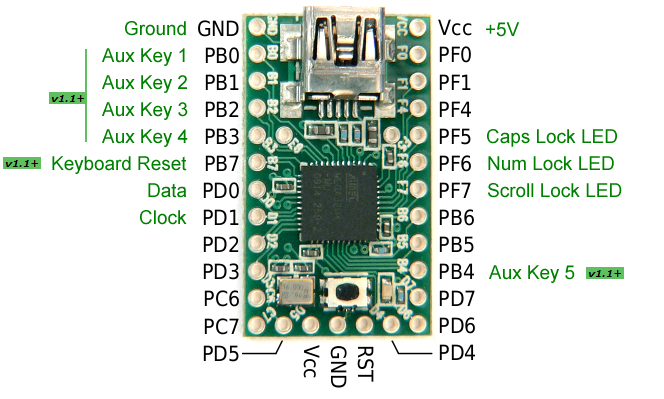
For the final conversion, I ended up grabbing a Teensy 2.0 as its HID functionality was the easiest to get working and people have used Teensys for various Model M conversions (so a decent amount of libraries were created). Soarer’s firmware worked somewhat but has not been updated in a while and most of his tools have broken dlls. Instead I ended up using TMK’s firmware as it is a lot newer and is still being actively supported to a certain extent.
Wiring Process
This part will vary greatly from year to year and model to model, but typically most Model M keyboard’s plug will consists of something with the following pins:
In my case the color codes did not match any normal standard are the following:
- GND = White
- 5V = Black
- CLK = Yellow
- Data = Red
- Shield = Black (though easy to distinguish from the rest).
When actually hooking up these wires to you desired MCU, just pay attention to which pins on your MCU utilzing the IRQ as most firmwares (including a custom one you may make) need to have the clock trigger everything via interrupt line.
Example Wiring to Teensy 2.0

Ultimately, as long as you get your Vcc and GND wire up correctly you should be able to swap the clock and data lines with out harming anything (take this with a grain of salt though). ** Note lots of guides recommend that you wire a pull up resistor in with your data and clock lines but I did not need to do this as the PS/2 output was already being pulled high **
Installation Process
The installation Process of TMK’s firmware is pretty straightforward
- Clone his repo
- Install Teensy’s basic firmware uploader
- Compile the desired firmware (he has several folders for various older keyboards (terminal_usb is the desired one for m122 keyboards
- Upload the outputed hex file using Teens;y firmware uploader.
Revision 07/12/22:
Ended up swapping from TMK’s firmware back to Soarers firmware due to issues with instability of TMKs. I also did try the QMK firmware but at least for my purposes Soarers is far simpler to get running and has been more stable.
Notes on Soarer Firmware Flashing
You have to flash a precompiled hex file onto whatever compatible MCU you selected. I initally struggled to get the right command for avrdude so see the command I ended up utilizing.
#!/bin/bash
# for itsybitsy
sudo avrdude -p m32u4 -P /dev/ttyACM0 -c avr109 -U flash:w:Soarer_at2usb_v1.12_atmega32u4.hex
Note I only tested that command for an itsy bitsy but other mcus will be easier to flash such as teensy 2.0s.
Using the Soarer tools.
You probably will encounter libusb errors. This reddit link talks about using the lib32 libusb package to resolve the problem (worked in my case).
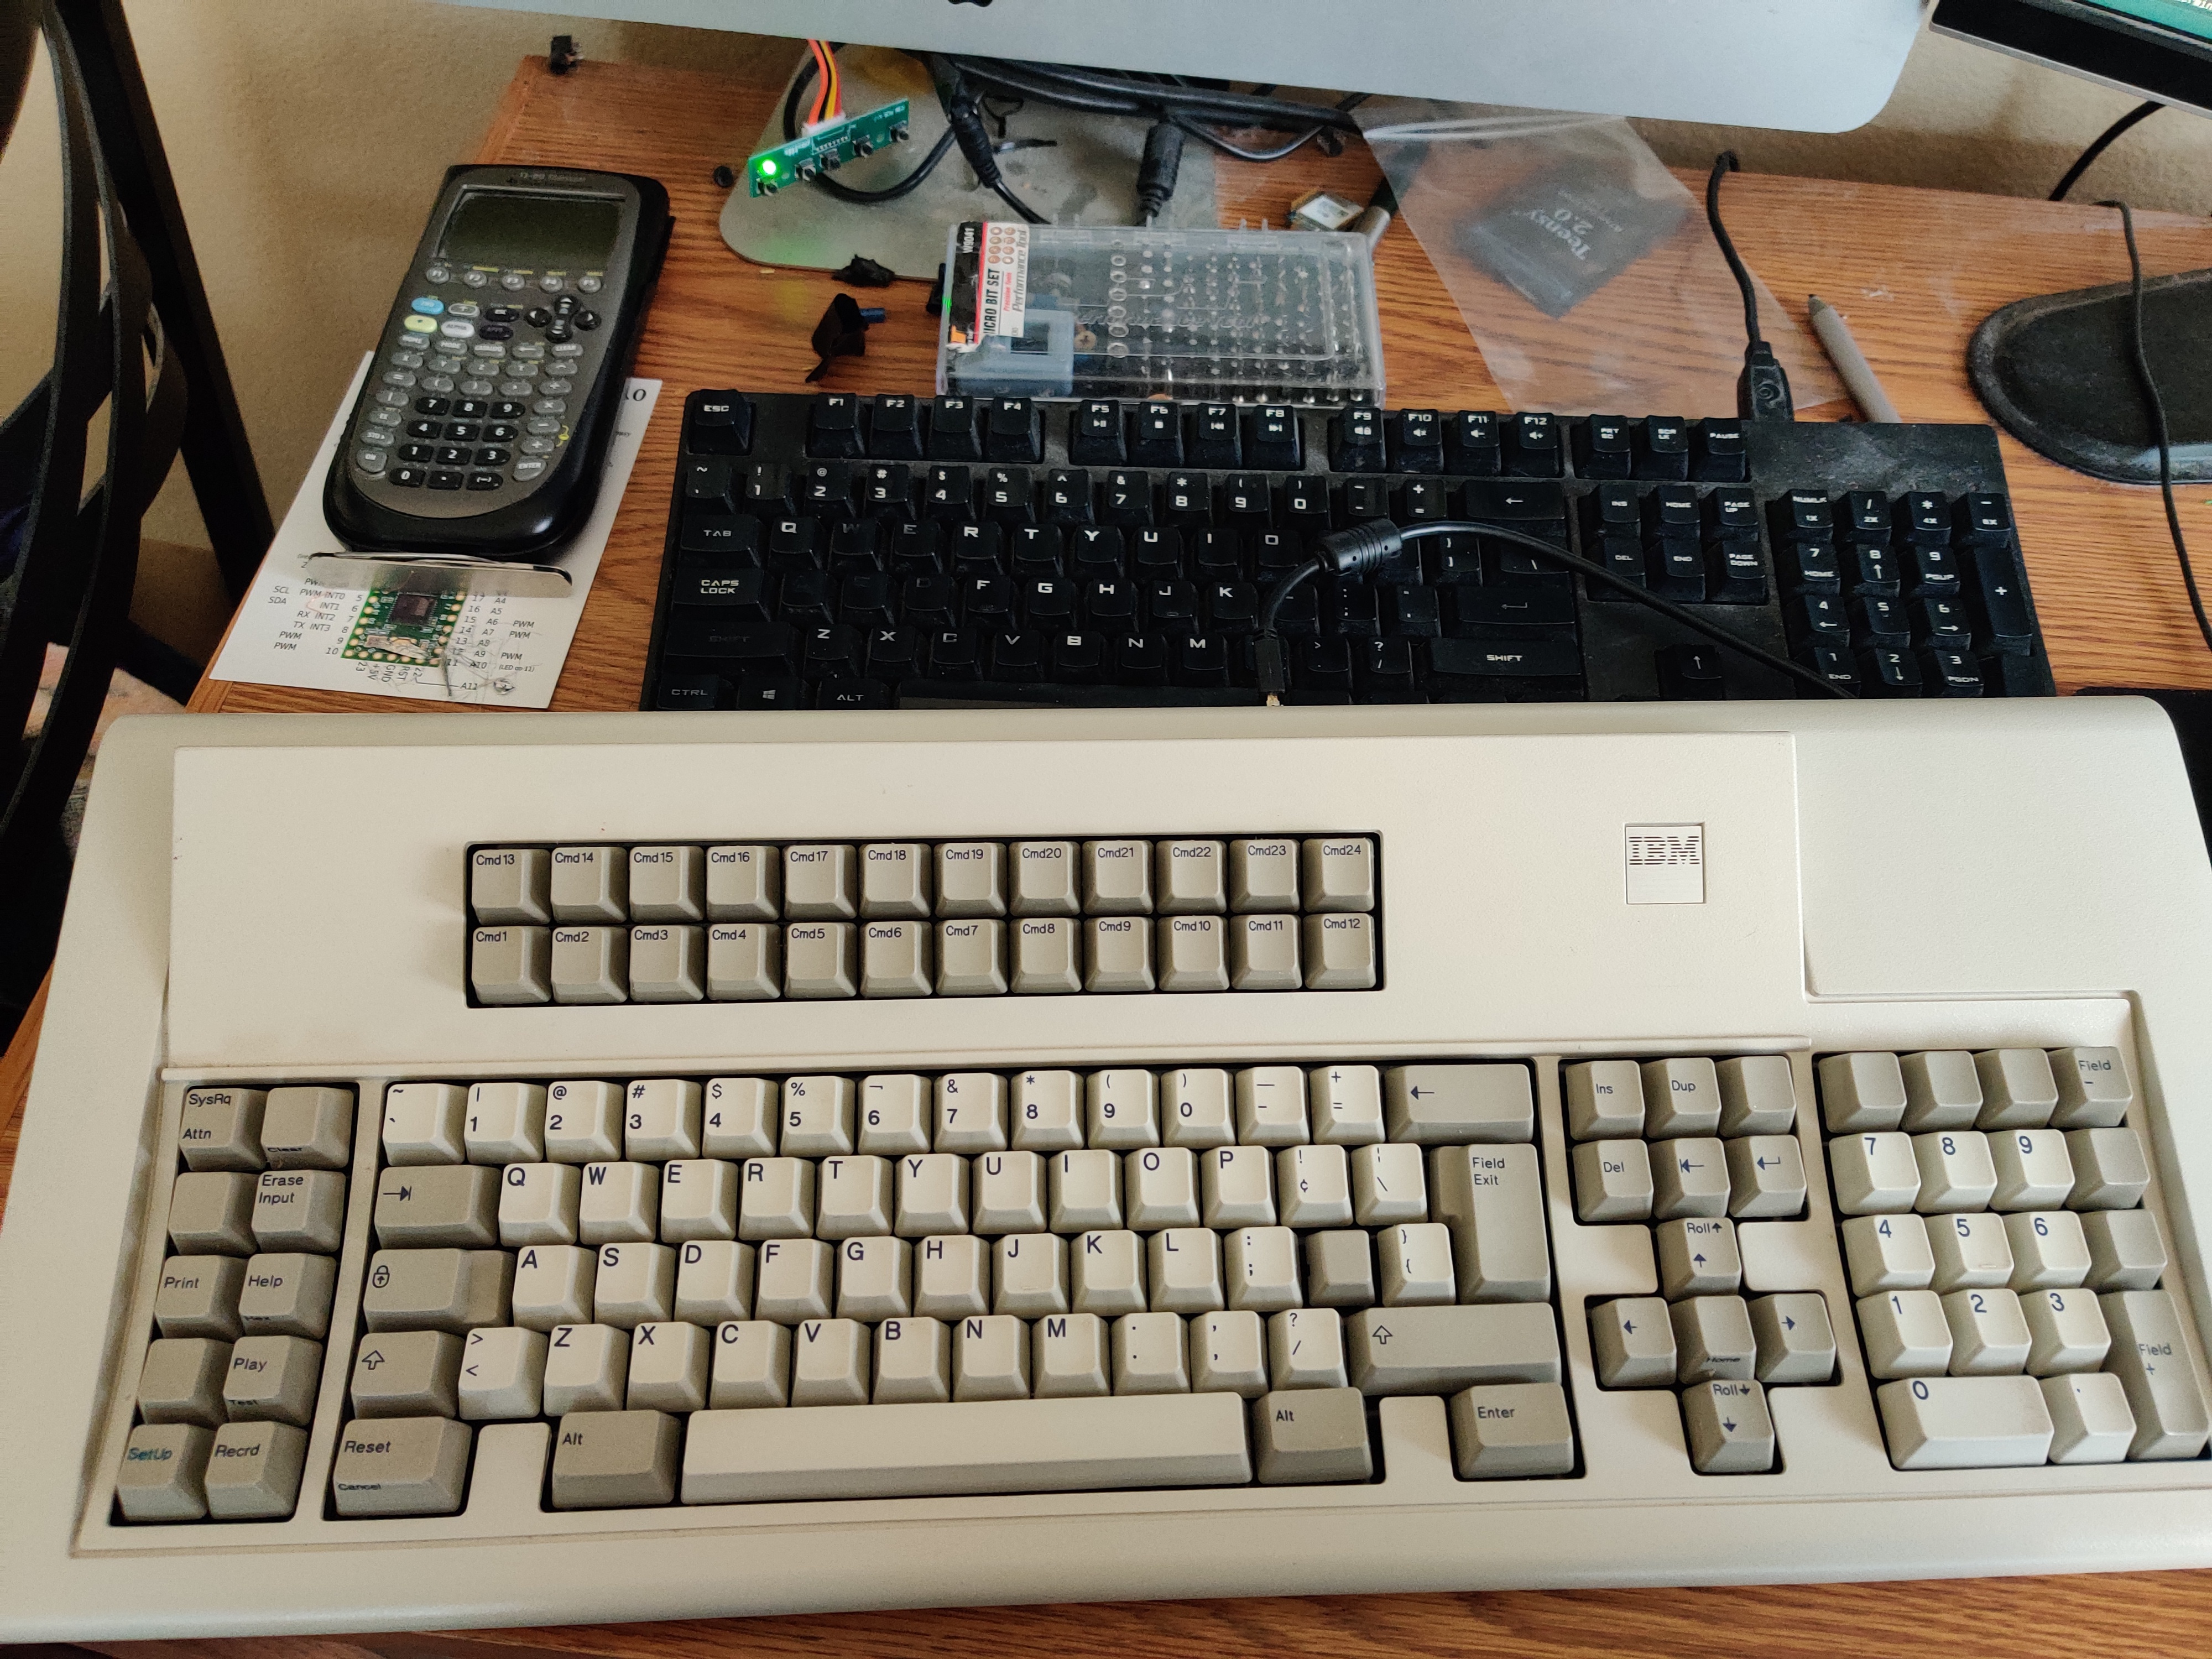
Final Product - Old:
 Ultimately, this restoration was fairly simple but results were great in the end as the keyboard is in great condition. My only complaint is that I probably will have to redue the backplate rivets soon and replace with Screws but that isn’t the end of the end of world (most likely will just update this article to include that update).